
I’ve been using Windows my whole life.
Then, in 2018, I made the jump to Mac.
In order to save me a bit of trouble I invested in Parallels Desktop for Mac to support clients with .NET systems.
Problem
I needed my Parallels Windows Virtual Machine to access some files which lives on my Mac drive as Y:\.
When I run the Command Prompt without admin rights, everything works as advertised:
1 | C:\Users\ruanbeukes>y: |
When I run Command Prompt as administrator, computer says: “No…”:
(Computer says no clip)
1 | C:\WINDOWS\system32>y: |
Solution
Create a batch file MapMacDrive.bat on your Windows drive:
1 | net use y: \\Mac\Home |
Right click on MapMacDrive.bat and run as Administrator:
1 | C:\WINDOWS\system32>net use y: \\Mac\Home |
Side note, to delete the drive create a batch file MapMacDriveDelete.bat and run as Administrator:
1 | net use y: /delete |
Automate mapping on Windows restart
On a Windows restart, the mapped drive is gone and you’ll have to manually run the batch file again…not good enough.
I automate this by using the Windows Task Scheduler.
Open a run box by pressing Windows Key + R, then execute taskschd.msc.
Look for the Create Task action on the right panel.
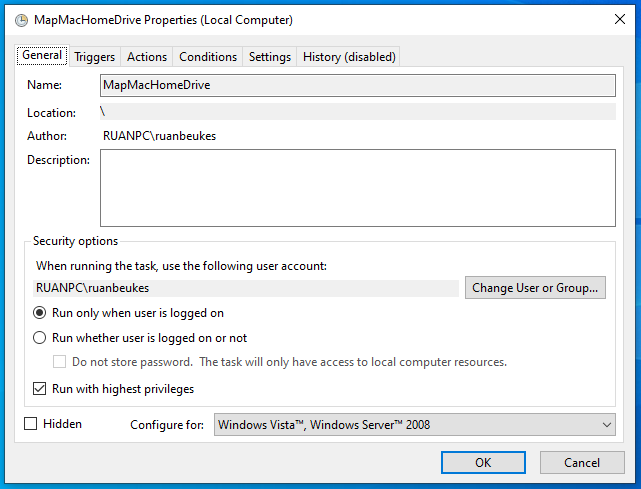
Create a new task MapMacHomeDrive with…
General Tab
Make sure to select Run with highest privileges.
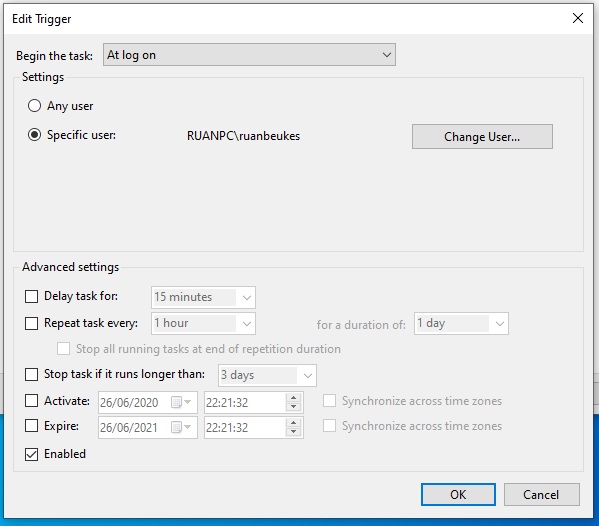
Trigger Tab
Create a new Trigger which will run At log on.
Actions Tab
Create a new Action which will run the batch file.
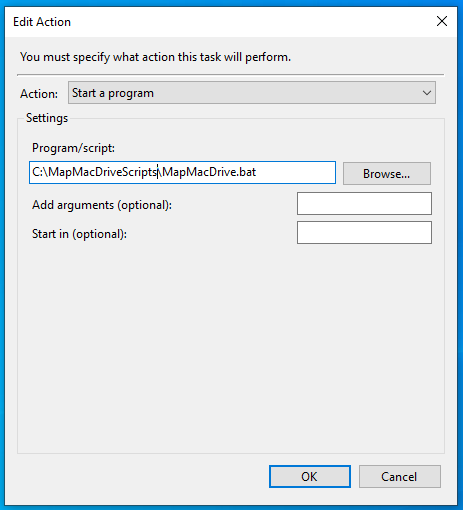
Your drive will automagically be mapped on restart.
Use it…don’t use it :)