
(Tech: C#)
Problem
I was working on a project where we refactored a particular class.
The class had a .Get() function, returning an Object.
Our mission was to implement a new class with the same .Get(), but the returning Object’s data would be retrieved differently.
This is a classic refactor, and thank goodness the team before us had sufficient unit tests :)
The unit tests were very easy to follow and with a few tweaks we had it implemented in no time.
Our next step was to implement integration tests.
This would definitely boost our confidence in our changes by comparing the old implementation to the new implementation’s result.
But how can I compare the objects without a lot of work from our team?
Plan of Attack
My plan was to serialize the objects to JSON string, and then compare the string results - see example below.
I would depend on the very popular Newtonsoft.Json to make it happen.
1 | // Don't think too much when you see the example, |
This approach achieved the objective, and if I had automated integration tests running as part of my build pipeline, this would have been good enough.
In our case, we did not run the integration tests on every commit as we only needed a temporary test solution to prove our changes were working. At a certain point, when we were confident our code works, the plan was to remove the old implementation completely.
We also used Scientist.net to test in production…wait…WHAT!!!
Before you jump up and down, we are not testing in production :)
With Scientist.net, the old code will still executes but the new code will run as an experiment in production.
But that’s for another day :)
Back to my test scenario - because we ran our integration test on demand, I have found it difficult to track the difference in the output generated by the assertion tool, in my case Shouldly.
This was not a shortcoming of Shouldly, rather the Object returned was complex and the JSON string value returned was just to big.
My solution was to copy the oldAddressesJSON result into a file, and repeat the same thing with the newAddressesJSON so that I can compare the two files with a diff tool like P4Merge.
(Choose your Diff tools for Window or Mac - Kudos to Tobias Günther).
I found it easier to compare the result side-by-side via a diff tool as opposed to a text blob list from top to bottom in the generated output string. I preferred good old fashioned eyeballing the differences :)
Very soon I got bored with the copy-text-to-file and started thinking of a better way…
One of my team mates dropped Approval Tests, and I quickly spiked it.
Approval Test Approach
I found ApprovalTests.Net nuget package, compatible with: Nunit, MsTest, Xunit, MBUnit.
Package Manager install command: PM> Install-Package ApprovalTests.
It makes testing easier when one needs to eyeball the differences.
ApprovalTests.Net uses your default installed diff tool, in my case P4Merge, to show the differences visually.
I had it up and running very quickly just by looking at their examples.
The magic attribute is: [UseReporter(typeof(DiffReporter))].
1 | using ApprovalTests; |
On First Run of Approval Tests
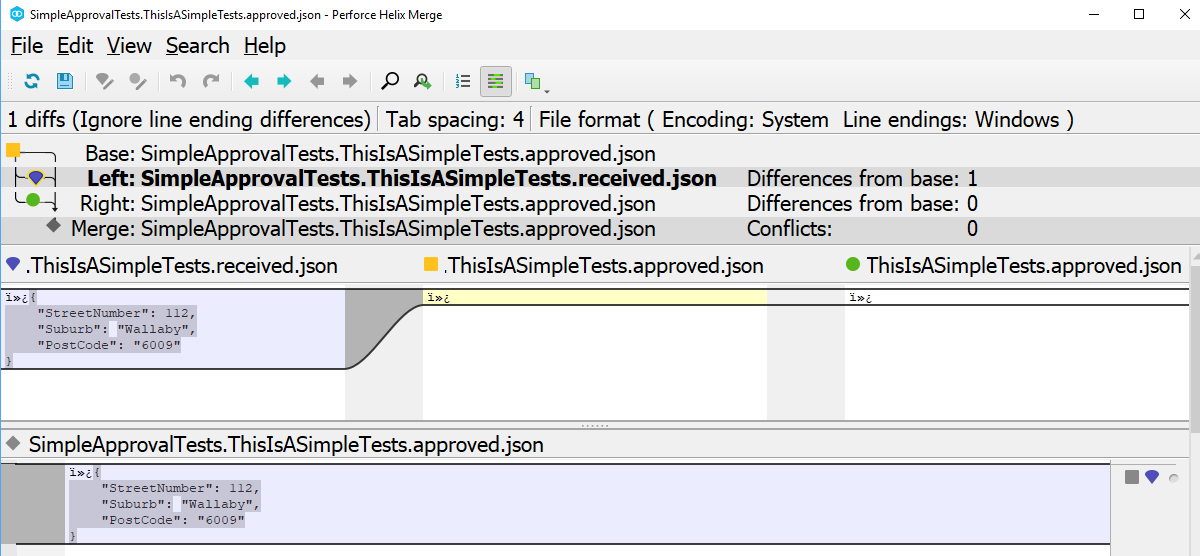
When you run the test the first time, the diff tool will pop up showing two file:
*.received.*- This is the actual result when your code was run.*.approved.*- This is the expected result, the first time it will be empty as you still have to decide what is expected content.
You will also see two new files in your project.
In my example I verified json results Approvals.VerifyJson(jsonAddress), hence .approved.*json**.
It could be different depending on your Approvals.VerifyX method used.
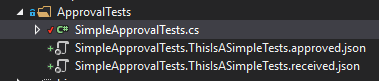
The *.approved.* file is the one you want to add to your source control.
Think of it as your test’s answer sheet.
The content saved in that file will be used by the Approval Test library to verify the actual result.
Create Content For Approved File
How do we create the *.approved.* content?
Easy - you simply close your diff tool and it will prompt you to save the differences from the actual result into the*.approved.* file.
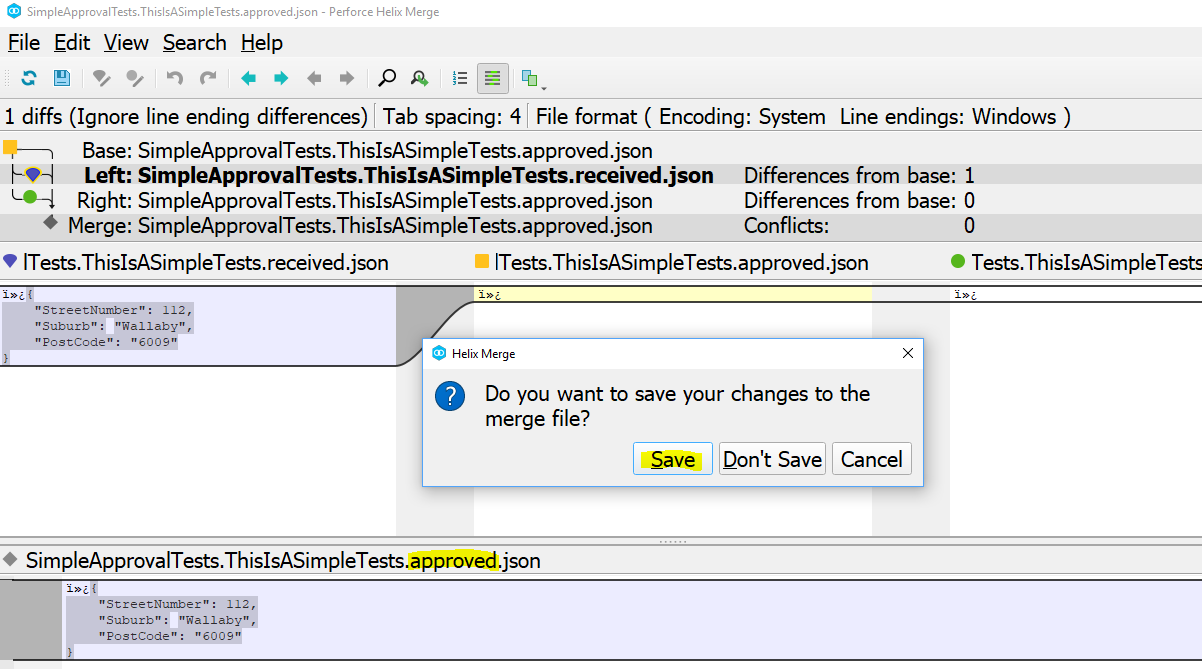
Now that you’ve saved the file, you have a valid *.approved.* file.
When you re-run your test, it will pass and the *.received.* file will automatically be removed by the Approval Tests library.
With a green test, we can commit the *.approved.* file with confidence to source control.
Test Workflow:
- make changes to your code
- update test, if required
- run your test - let’s assume failed test
*.approved.*was created file*.received.*was created file
- diff tool will shout mismatch
- save the change to the
*.approved.*file - re-run your test
- on green test, add/commit
*.approved.*changes - on green test,
*.received.*was automatically removed - new code is now covered
Suggestion: Configure your source control to ignore files with matching pattern *.received.*.
I’ve added *.received.* to my .gitignore file.
Approval Tests In Action
Conclusion
Approval tests are available in many flavours - C#, VB.Net, Java, PHP, Ruby or NodeJS.
A quick google will help you out.
I was very happy with the results Approval Tests brought to our project and would definitely recommend it for consideration in your next eyeball scenario.
Use it…don’t use it :)